Quick edit Ghost Mannequin in Photoshop
- Jul 28, 2019
- 1 min read
Ghost Mannequin or invisible mannequin is a technique used to represent clothing in a 3D effect. The following is a quick edit technique I use in Photoshop to create this effect. This will work for most clothing, for the purposes of this article I am using a simple t-shirt.

We start with the clothing on the mannequin and in post production the remove mannequin to give the 3D effect.
Tips:
Photograph the garment in 360 degrees, front, side, back and maybe on an angle .
Capture all the detail while on the mannequin. Pockets, zips, patterns etc.
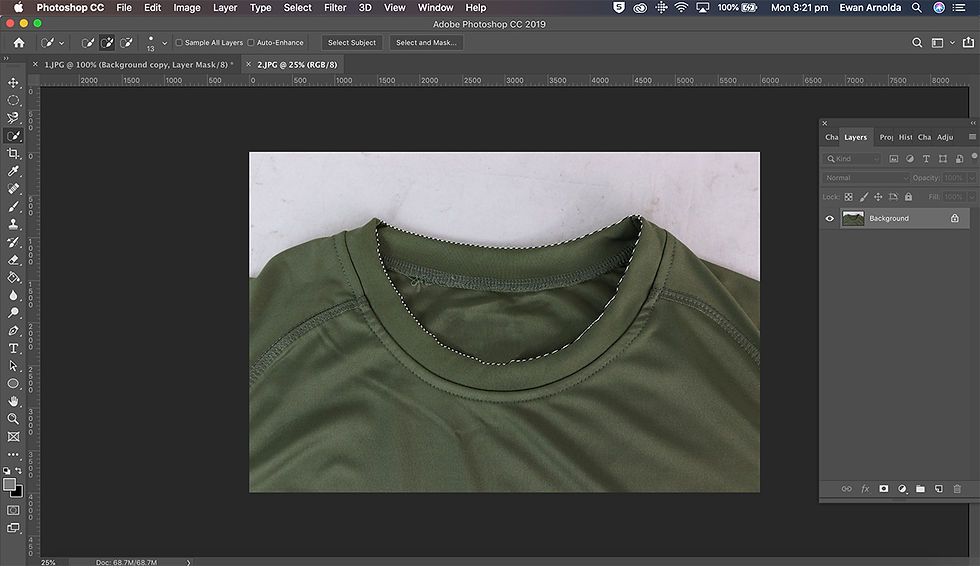
Capture inner details of the garment. For example, inside the neck area.
This article will assume the reader will have basic Photoshop knowledge.
Steps:
1.

2.

3.

4.

5.

6.

As mentioned above use the internal shots of the t-shirt to give a more 3D look.
7.
8.

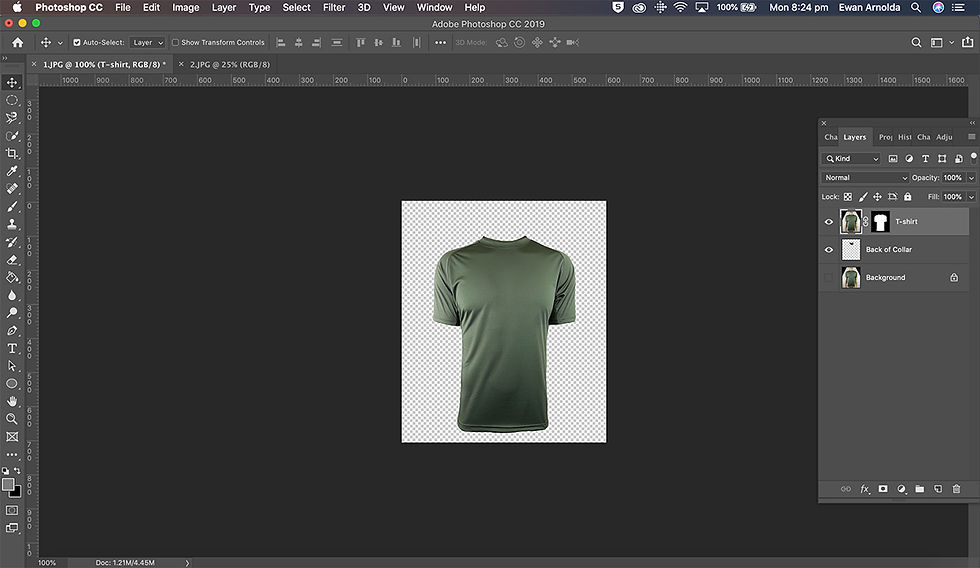
Rename the layers and move the layer under the T-shirt layer.
9.

10.
Check out the quick video.


Comments